Editorial & Photography By: Dr. Christopher Cooper

Figure 1
In this issue of Old Home Living we decided to tackle the siding on Old Home Living House One in Brantford, Ontario. At first we were a little apprehensive of what we would find underneath the 1980’s pressboard siding which had become brittle from constant water damage (see fig. 1). Not only is the use of what is not much more than glorified cardboard not acceptable for an exterior siding, the 11 inch exposure of each clapboard is too large for the scale of the house.

Figure 2
Old Home Living is no stranger to the Infrared Paint Stripper manufactured in Sweden (see fig. 2). Our Editor-In-Chief has used this product for years in restoration work in Europe, recently stumbling over their North American web site and finding out that it is available in Canada with dealers on the West Coast and in Ontario. The Infrared Paint Stripper utilizes infrared technology which can remove a 4″ x 12″ swatch of paint, (five coats thick) to the bare wood in as little as 20 seconds. The greatest hazard in using a radiating heat device is the very real threat of creating lead gas which can cause serious neurological damage and even kill! Heat guns and heat plates operate at 594ºC (1,100º Fahrenheit), coupled with the fact that lead turns to a gaseous state at 371ºC (700º Fahrenheit) and wood ignites at 399ºC (750º Fahrenheit), making these devices unacceptable for serious restoration work.
The use of harmful chemicals (both to the environment and your health) and rotary devices which flail the paint off at a horrible sound level have not lived-up to our testing. The Infrared Paint Stripper’s operating temperature is a mere 204ºC – 260ºC (400º – 500º Fahrenheit). The actual surface temperature is only heated to approximately 149ºC (300º Fahrenheit). Our Editor-in-Chief Chris Cooper, jokingly refers to it as a microwave for painted surfaces, the miracle device seems to simply separate the paint from the wood surface below, drying out any moisture, and killing mould with the surface ready for paint immediately with no sanding required.
So as you can clearly see Old Home Living recommends this tool, it is expensive (around $600.00 Cdn) however, it pays for itself very quickly.
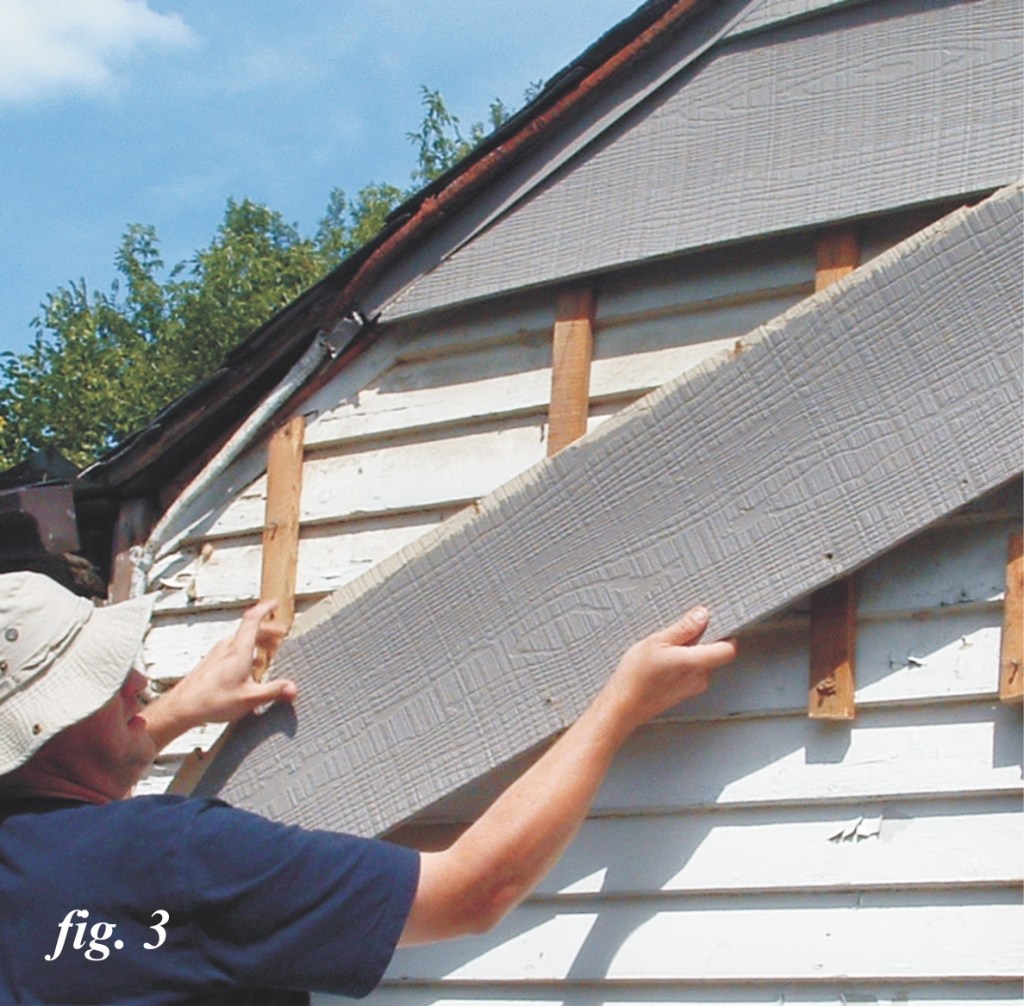
Figure 3
The work of stripping-off the old pressboard siding was a breeze, an effortless tug would tear the nails right through the surface (see fig. 3). Of course with any unsympathetic retrofit, vertical strapping was nailed over the original siding.

Figure 4
Gently prying with a wreaking bar at all the nailing points of the strapping, a bit at a time, until the strapping releases, will produce the least amount of damage. Enlist the aid of a block of wood underneath the head of the wrecking bar so as not to mar the siding (see fig. 4).

Figure 5
After all the strapping was removed (see fig. 5) a light hose-down of the dirt, grime and spider webs on the original siding was in order. Remember to never use a power washer on your house (it will drive water into the structure and cause moisture and rot issues). We were amazed at the overall excellent condition of the siding, and found there to be approximately five layers of paint. An area of 25 square feet was marked off to see how long it would take someone to remove the paint utilizing the infrared paint stripper (see fig. 6).

Figure 6
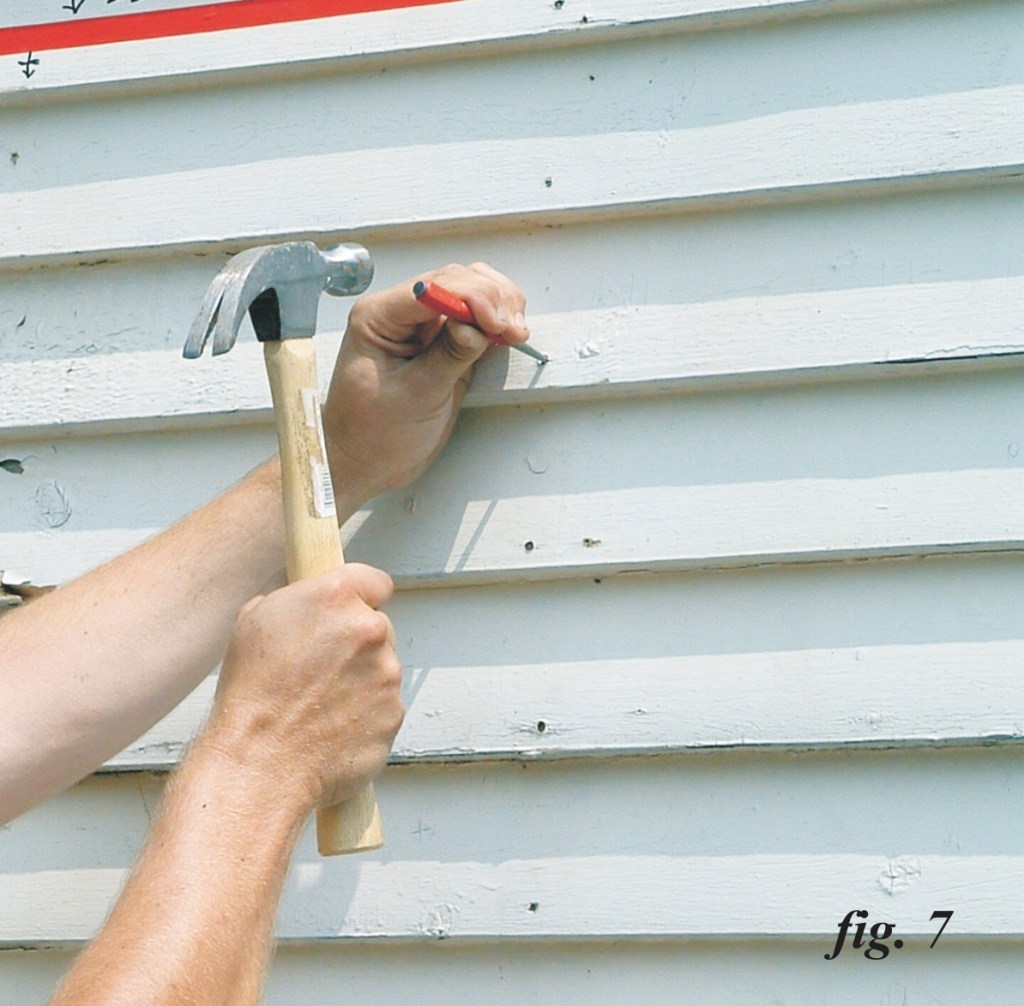
Figure 7
Over the past 60 years the nails on the siding have raised a little. Using a nail-set we drove the nails just below the surface (see fig. 7). The nails heads should always be re-set, both to re-seat the clapboard and to allow the use of a carbide scraper without nicking and prematurely dulling the blade.
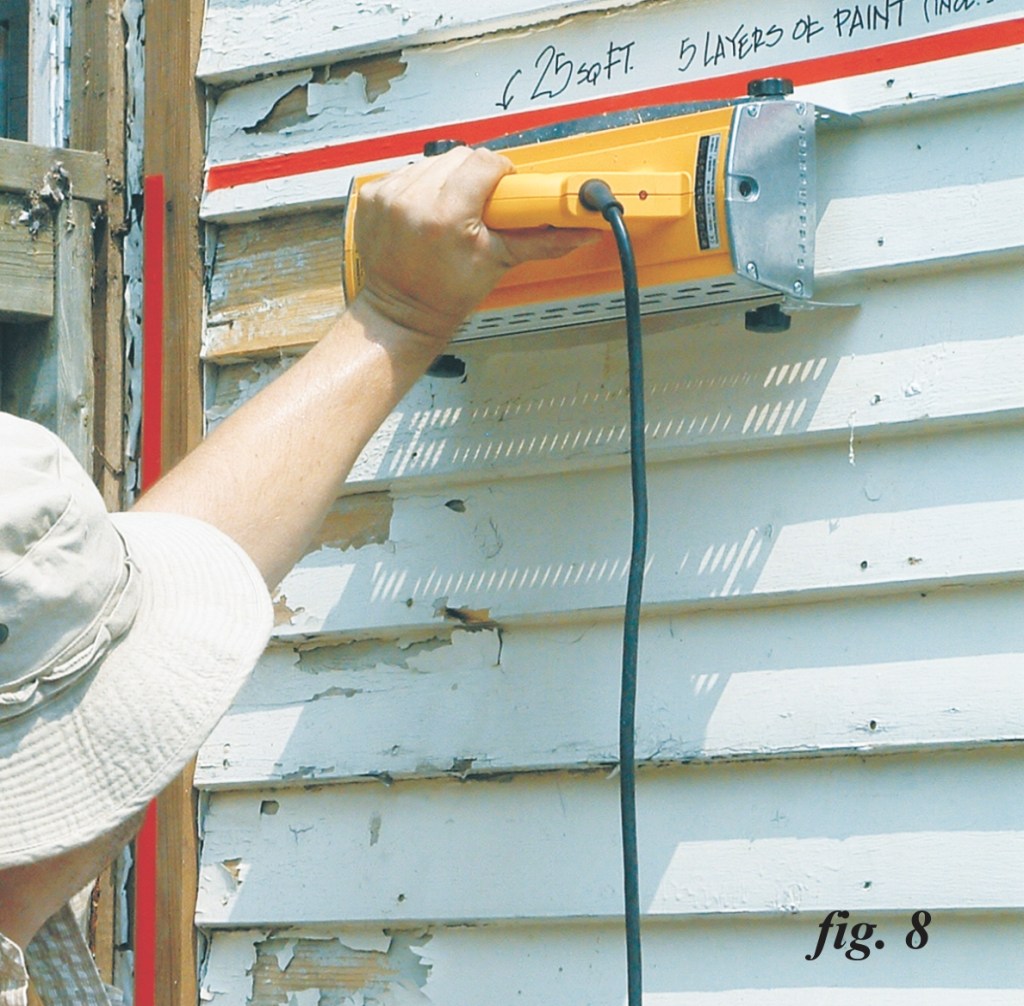
Figure 8

Figure 9
We then started in earnest with The Infrared Paint Stripper, it was exactly that “silent” and very effective (see fig. 8). By employing a carbide scraper the just heated area was effortlessly scraped to the bare wood (see fig. 9). The whole 25 foot area (including under each clapboard) was completely brought down to bare wood in a little under an hour and a half, with outstanding results (see fig. 10).
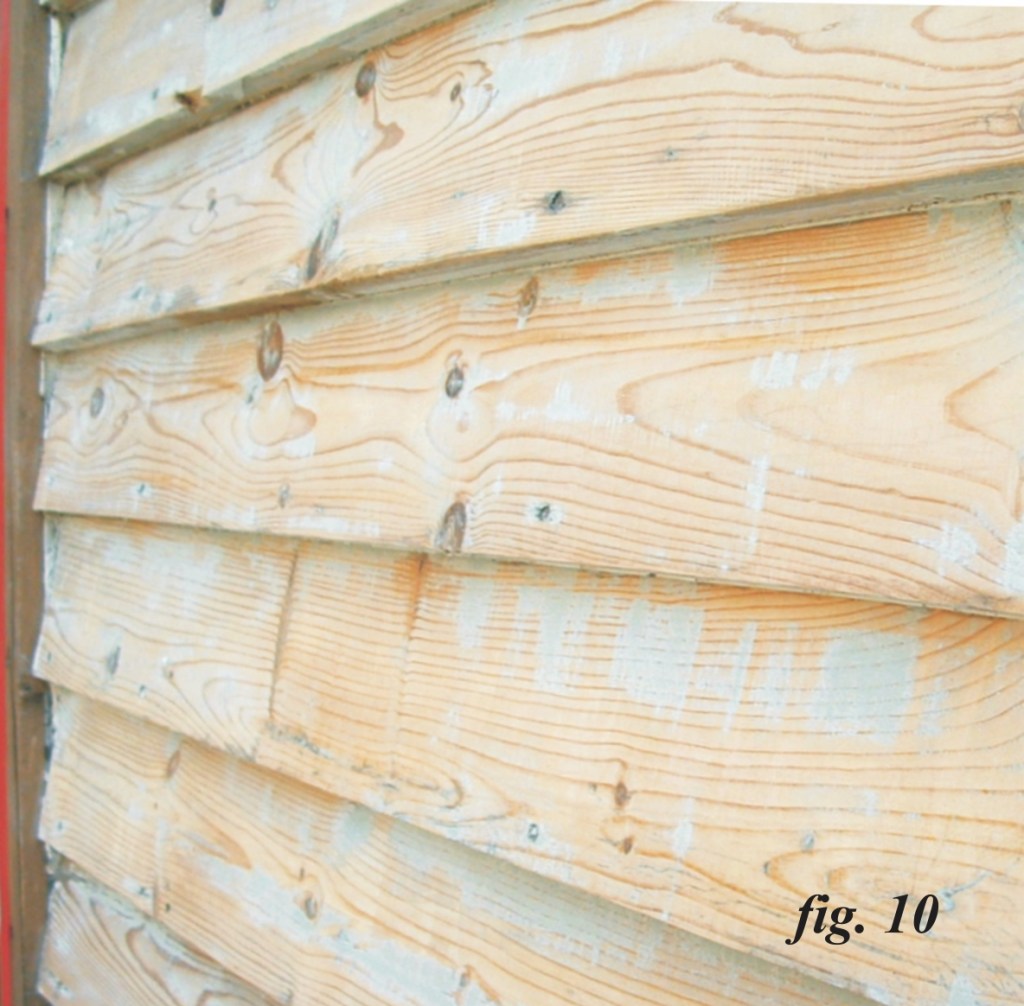
Figure 10

Figure 11
Although not really required we did run a palm sander over the whole area for a couple of minutes just to even out some badly (original) sawn clapboards. After standing back to admire our work we noticed that some chunks had been knocked off the edges of a few boards, which we quickly remedied with a two-part epoxy (see fig. 11).

Figure 12
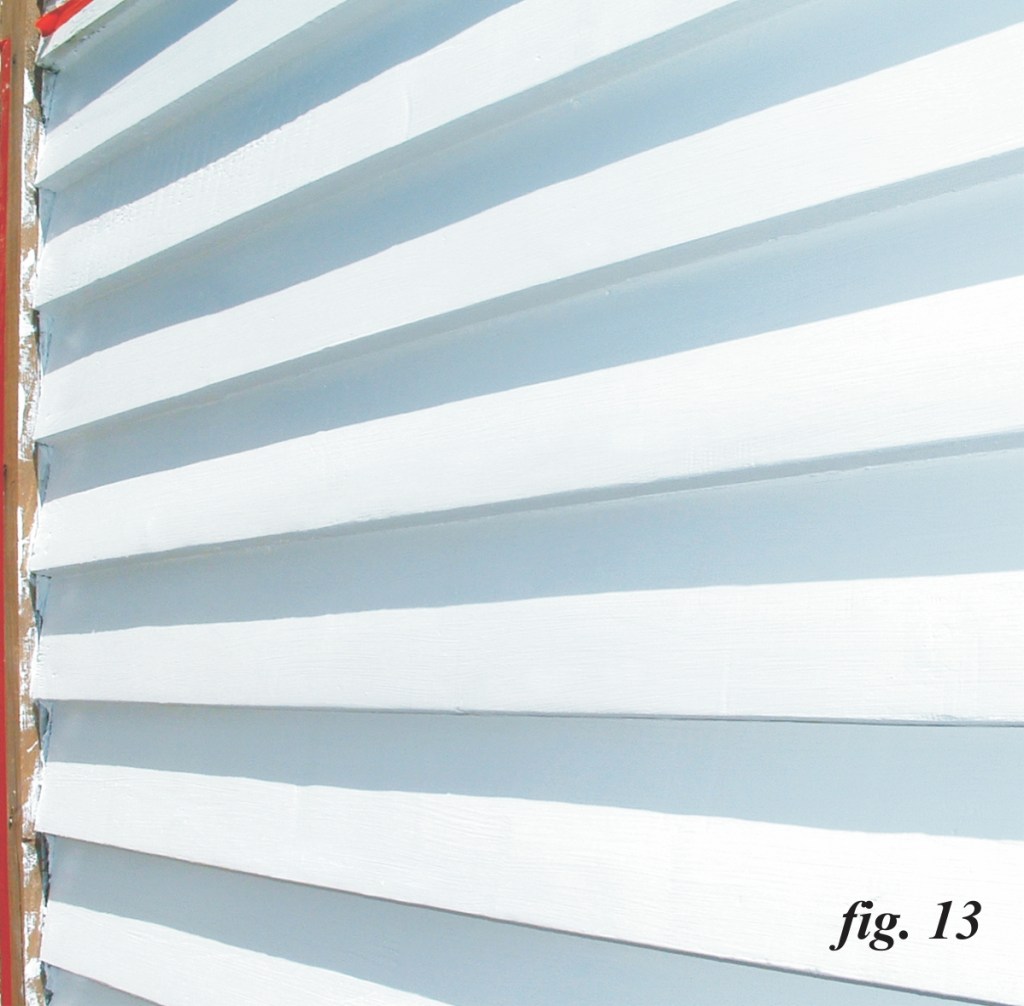
Figure 13
After a quick sanding of the epoxied areas and a dust-off, we applied an oil based primer (a must for historic exterior wood work, never use a latex primer, see fig. 12). The final primed product is quite impressive (see fig. 13) ready for the final two-coats of 100% acrylic latex as a topcoat.

Why must you use an oil based primer if you are going down to bare wood and are planning on using latex based paint? I am curious because we live in Canada and it is almost impossible to find oil based paint/primer here. Thank you
Because of all the nasty chemicals in older paint, lead, arsenic etc. etc. Latex will fail in most cases. And yes Home Hardware carriers the Zinsser Bin Primer Sealer. Specialty paint shops still carry alkyd primer such as MF a Canadian manufacturer.
This blog post on restoring the siding of an old home was truly fascinating! I appreciate the thoroughness of the process, especially the use of the Infrared Paint Stripper. It’s impressive how it quickly strips paint without the risks associated with harsher methods. The attention to preserving the original wood and using the right primer for historic exterior work really shows the care you take in these restorations.
For a project like this, how do you approach the roof restoration to ensure it complements the newly restored siding? Would the same Infrared Paint Stripper be useful for removing old roofing materials, or would a different approach be better?
https://www.jacksroofingguys.com/