Editorial & Photography By: Dr. Christopher Cooper
One of the earliest forms of wooden dado is tongue and groove wooden boards laid horizontally capped with a chair or dado rail.
In the mid to late 18th century, lath and plaster walls were devised to hang beautiful hand-blocked wallpaper. This was mainly due, in part, to the staining effects floor to ceiling wainscoting (panelling) had on the paper. Wattle and daub walls were suitable when plastered for the new art of wallpaper. However, the issue became, what to do with new timber-framed houses?
In some areas a wooden dado would have been applied for protection of water borne damage of the plaster walls.
It was quite ingenious the method used of laying-up pieces of riven lath, providing a space between each piece and squeezing a soft sanded plaster, with animal hair as the reinforcement, between these spaces to allow the plaster keys to hold fast. With every new improvement to an old system comes an overabundance of issues, such as – cracking, shrinkage, failure of the keys, and most devastating the damage by furniture and chairs. Thus, the development of the chair rail was the redeemer of many a plaster wall. Many grander houses in Europe already used the process of creating a dado around the room through mouldings and distinct decorating separations between the upper and lower sections of the wall. Why not for the common man also? Practicality, combined with the elegant grandeur of their wealthier counterparts, was far too tempting for the farmer in Rural Canada.
A good example of floor to ceiling panelling or wainscoting.
Most early dado arrangements were cased in wood on the lower field of the wall, thus creating a wooden dado. I have theorized that the thrifty farmer knew full well that his/her furnishings would cover the lower area below the dado rail (chair rail) and get the most punishment, and therefore it would be impractical not to case it in wood. Moreover, the upper half of the wall would require less wallpaper than a floor to ceiling paper separated by a dado rail, again a thrifty farmer.
Sadly many wooden dados have been removed in favour of paint and wallpaper. During the restoration of Old Home Living House Two, we thought there were no dado rails in the house until we removed the wallpaper and noticed the ghosts of dado rails past (see Image 1).
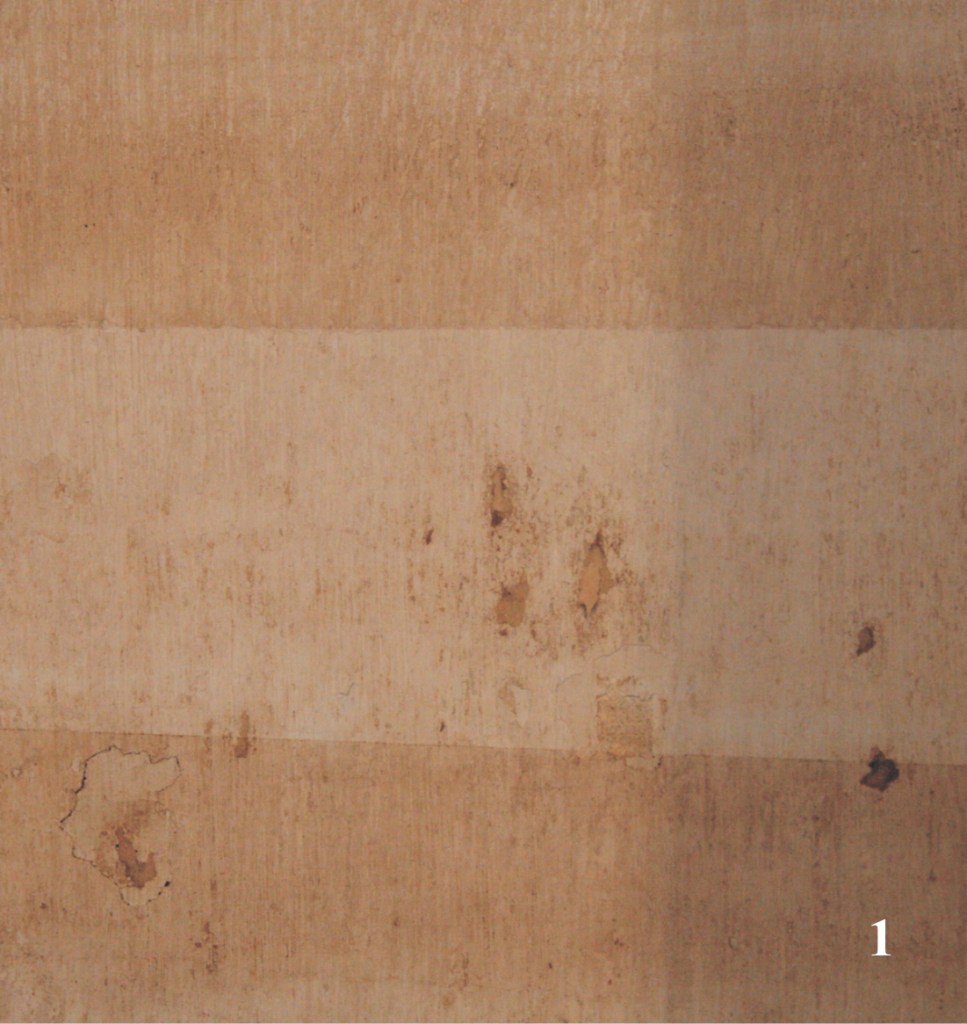
Image 1
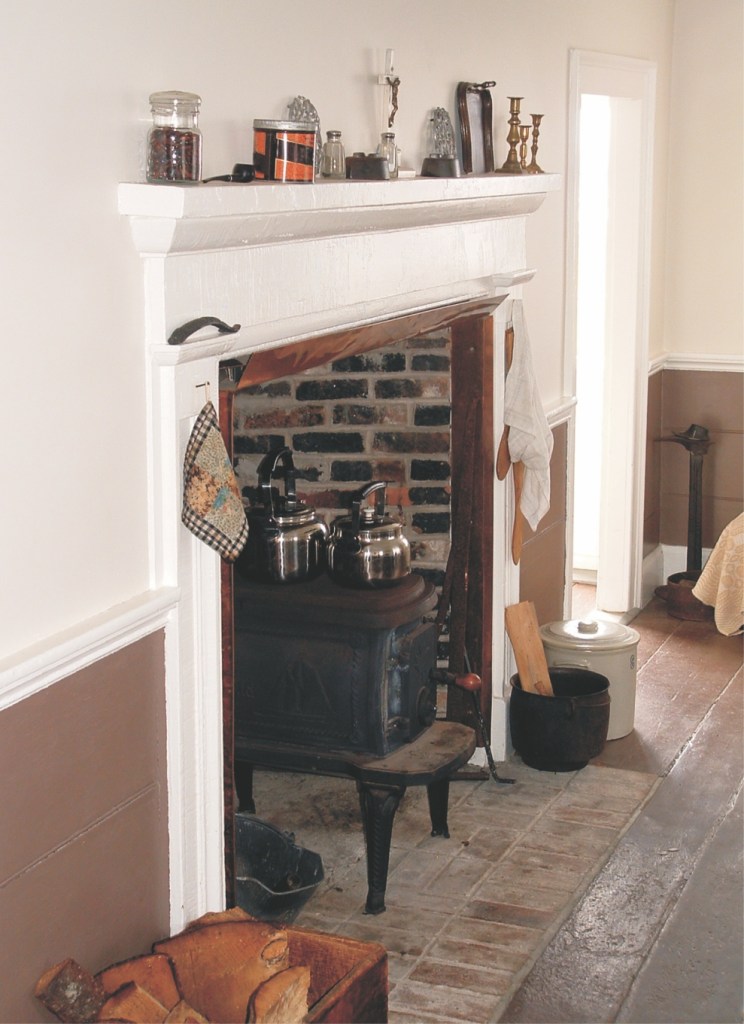
An addition to the rear of the original 1837 portion was added on in 1877. At this point in history, the wooden cased dado almost all but disappeared (in North America) from the principal rooms and hallways, opting for floor to ceiling wallpaper instead (wallpaper becoming less costly in the last quarter of the nineteenth century) with a single small dado rail still in use to protect both the parlour and dining parlours walls from chair or furniture damage. Notwithstanding this, the cased dado was still alive and well (in 1877), in more utilitarian rooms such as the summer kitchen in Old Home Living House Two. However during the restoration we noted that the wood panelling was reused from another time (broken tongue and grooves, faux finished and former nail holes puttied-up), most likely reused from the parlours or the hallway when the summer kitchen was built.
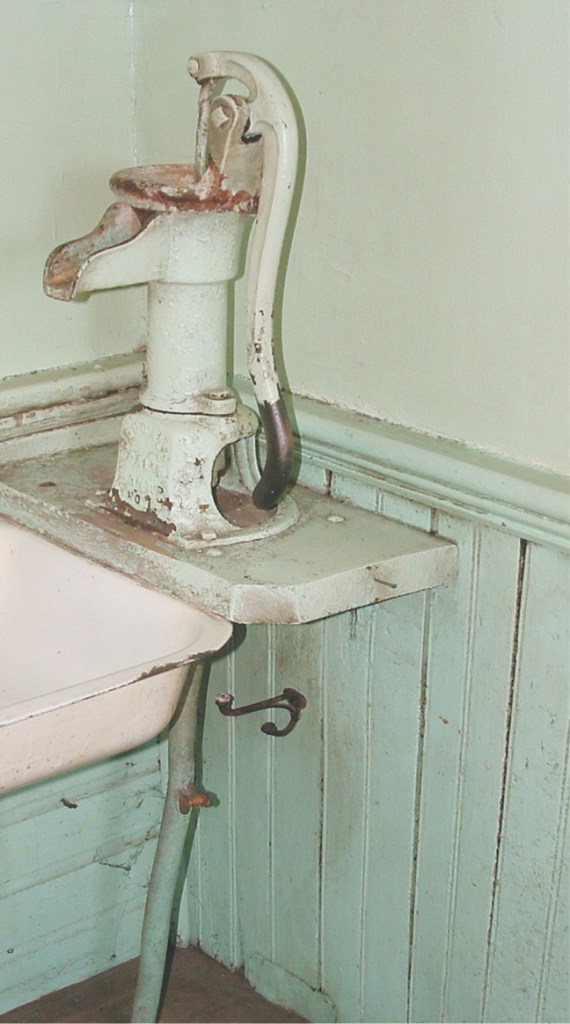
There is a peculiar modern amenity in the dining room. A dumbwaiter refrigerator had been installed which could be lowered into a basement ice box (c. 1910). The house had many other renovations made to it in 1910. One was the removal of the last wooden dado in the house. This has been confirmed with the appearance of a section of the faux finished dado that once resided in the former wake-room of the house (converted in 1910 to the bathroom) and was used to finish the top of the dumbwaiter refrigerator (see Image 2).
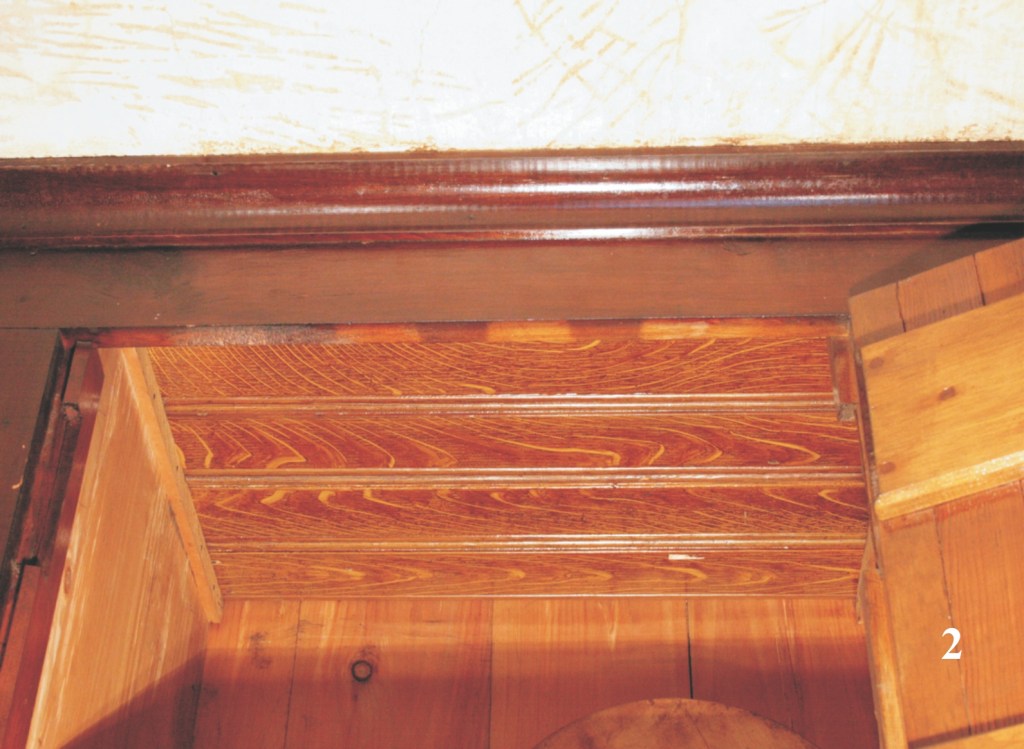
Image 2
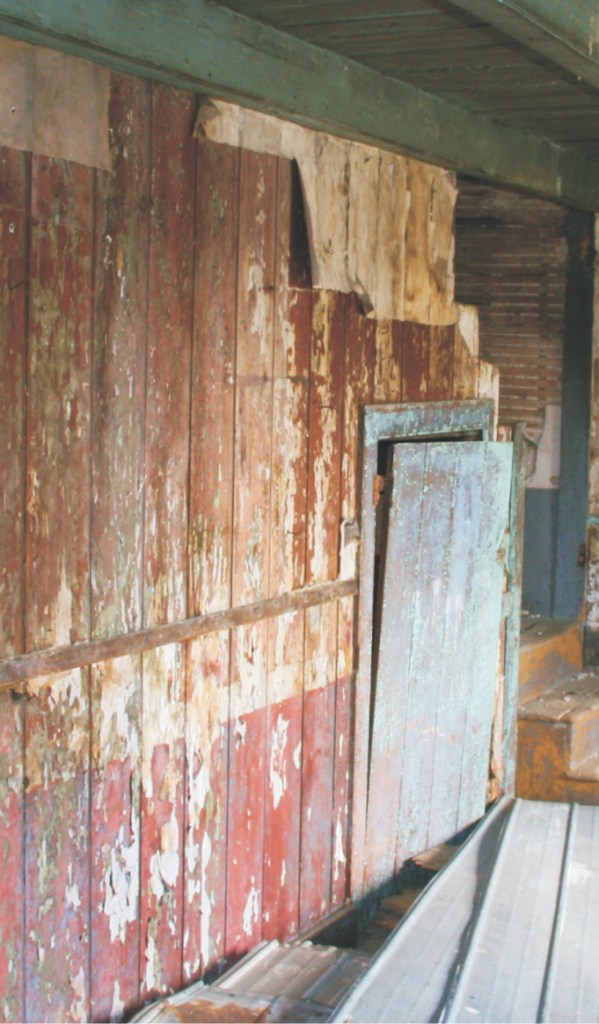
Most times, if detail is not lost with many layers of paint, a wooden dado can be washed, lightly sanded and repainted with traditional oil-based paint. With respects to Old Home Living House Two, there was a succession of eight layers of thick oil-based paint over the original faux finish since 1877, and the detail in the fine ¼” bead is filled and lumpy and needs to be stripped wholesale (see Image 3).
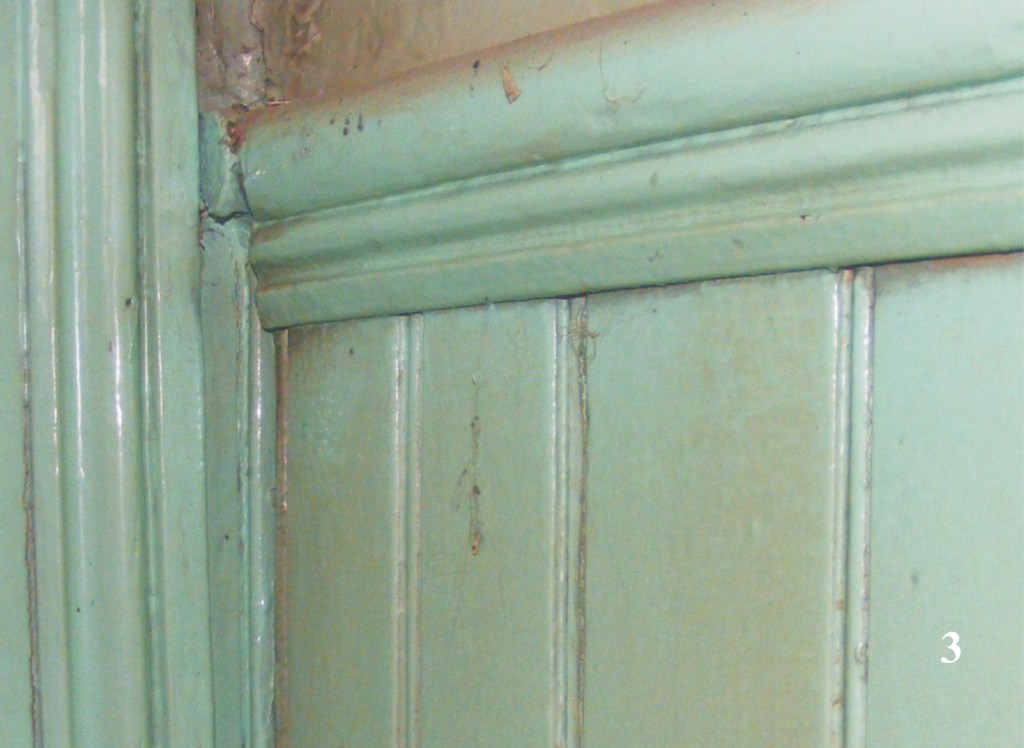
Image 3
The Restoration Process:
Joe Beaudette started on the project in-situ and found that the work was very tedious and the results were not very satisfactory with areas missed because of the interconnection of the dado rail and the trim piece below (see Image 4). The decision to remove the rail and panelling was made.
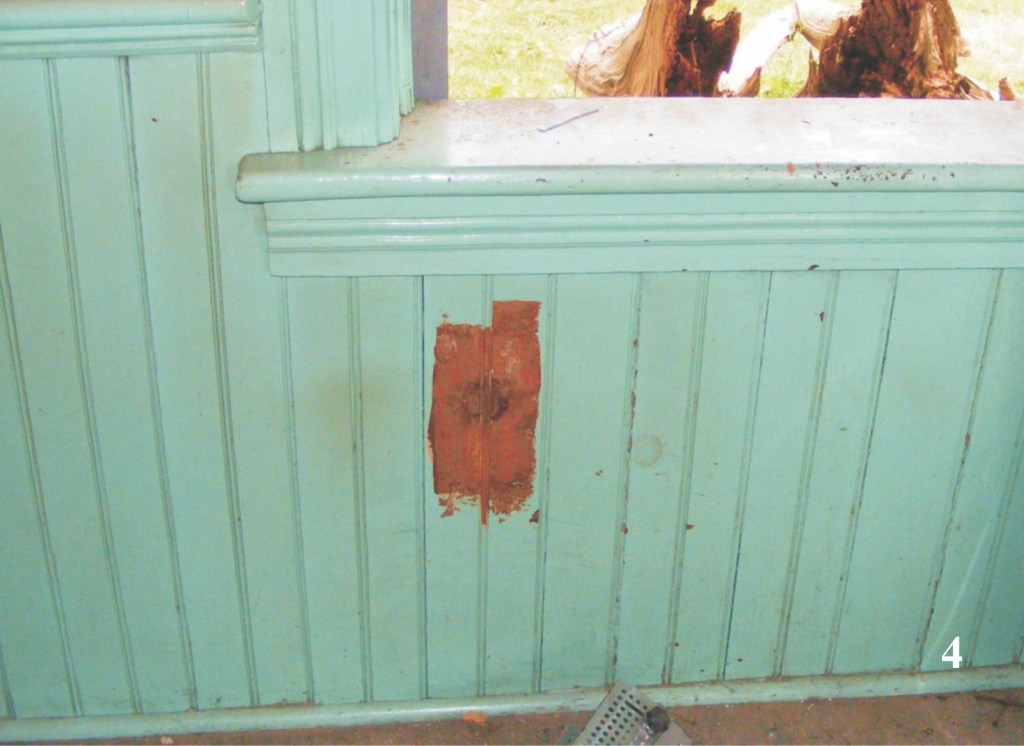
Image 4
I removed the dado rail and lower trim, marked the back of each using a “Sharpie” marker with its location, and proceeded to mark the panelling in-situ. A marker can be used, however I have a fear of the ink coming off during stripping so I employed the use of a ½ inch chisel and mallet to inscribe Roman numerals (see Image 5). I will now know where the piece of panelling came from and, most importantly, where it needs to go back to after it is stripped. Roman numerals are used by carpenters because it is hard to chisel out the figure eight and easy to chisel out VIII! I applied some paint to the top edge to make the Roman numerals more visible.
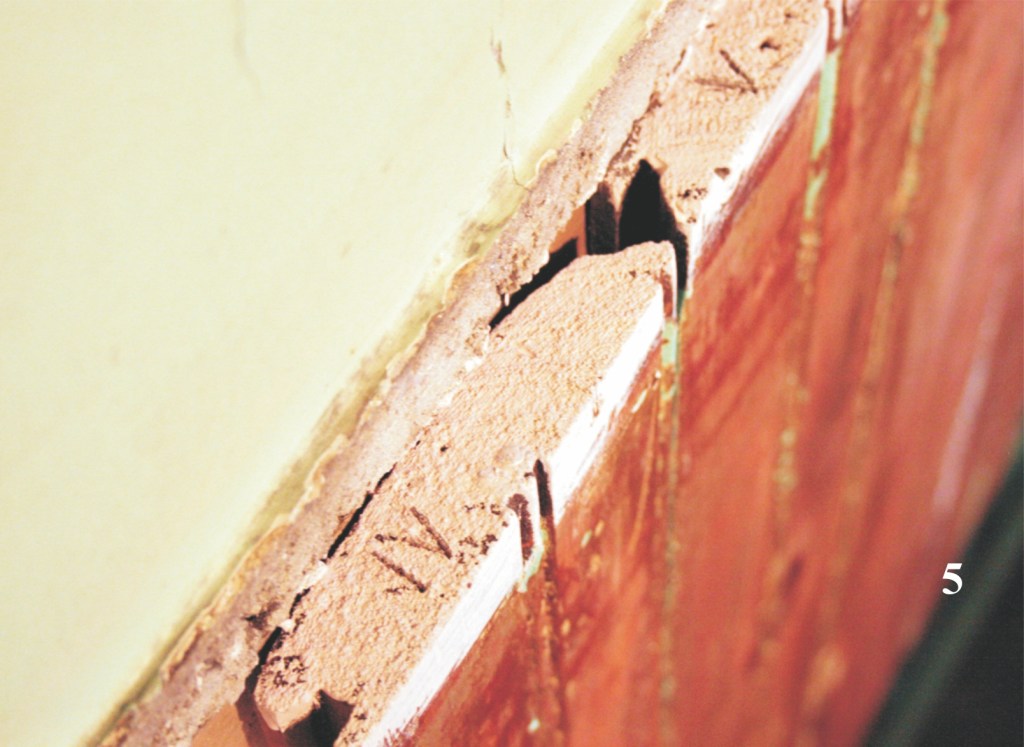
Image 5
By using wooden shims in behind each piece, and adding a succession of more shims behind, the panelling came easily away from the wall. The wall is a suction bond plaster wall, which means the plaster has been applied directly to the wall. The nailer used behind the panelling was very thin and did not provide effective stability for the panelling. A decision will have to be made to provide a more robust nailer, which will allow more structure for the panelling (see Image 6).
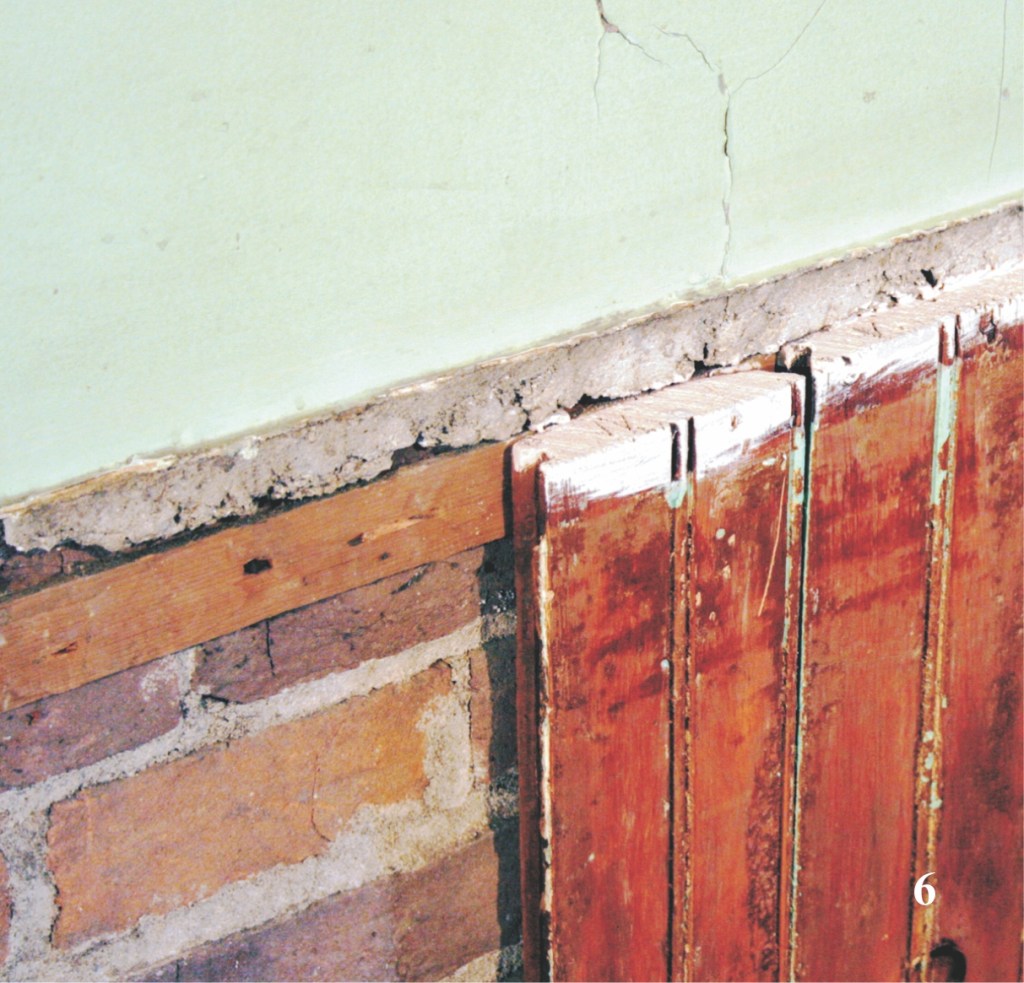
Image 6
The panelling was laid out and the “Infrared Paint Remover” was employed. For the bead to be stripped, I had to create a custom scraper out of a standard “Richard” paint scraper you can buy from your local hardware store. The series of images (7 through 9) shown are dramatic examples with respects to the ease of removal with an infrared paint stripper. No lead gases, no spontaneous combustion of the wood and best of all, eight layers of paint off to bare wood in 15 seconds.
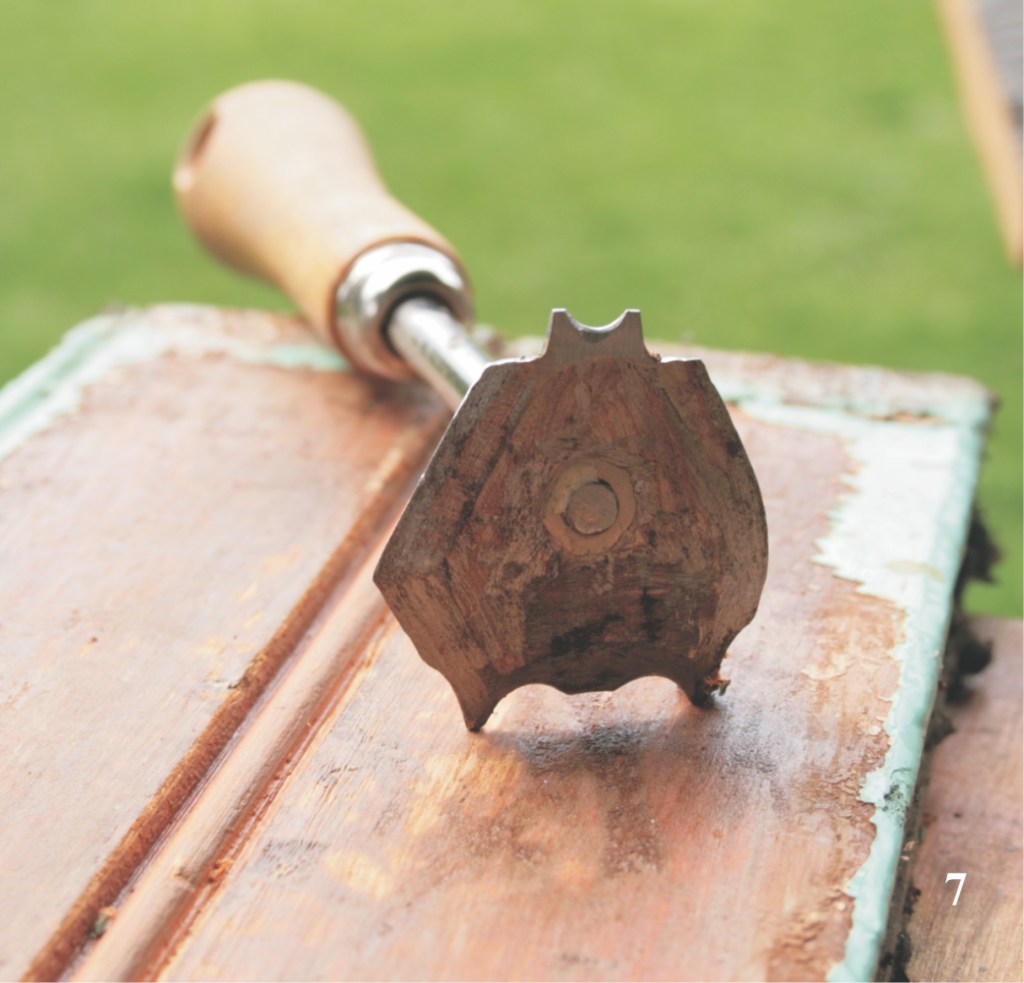
Image 7
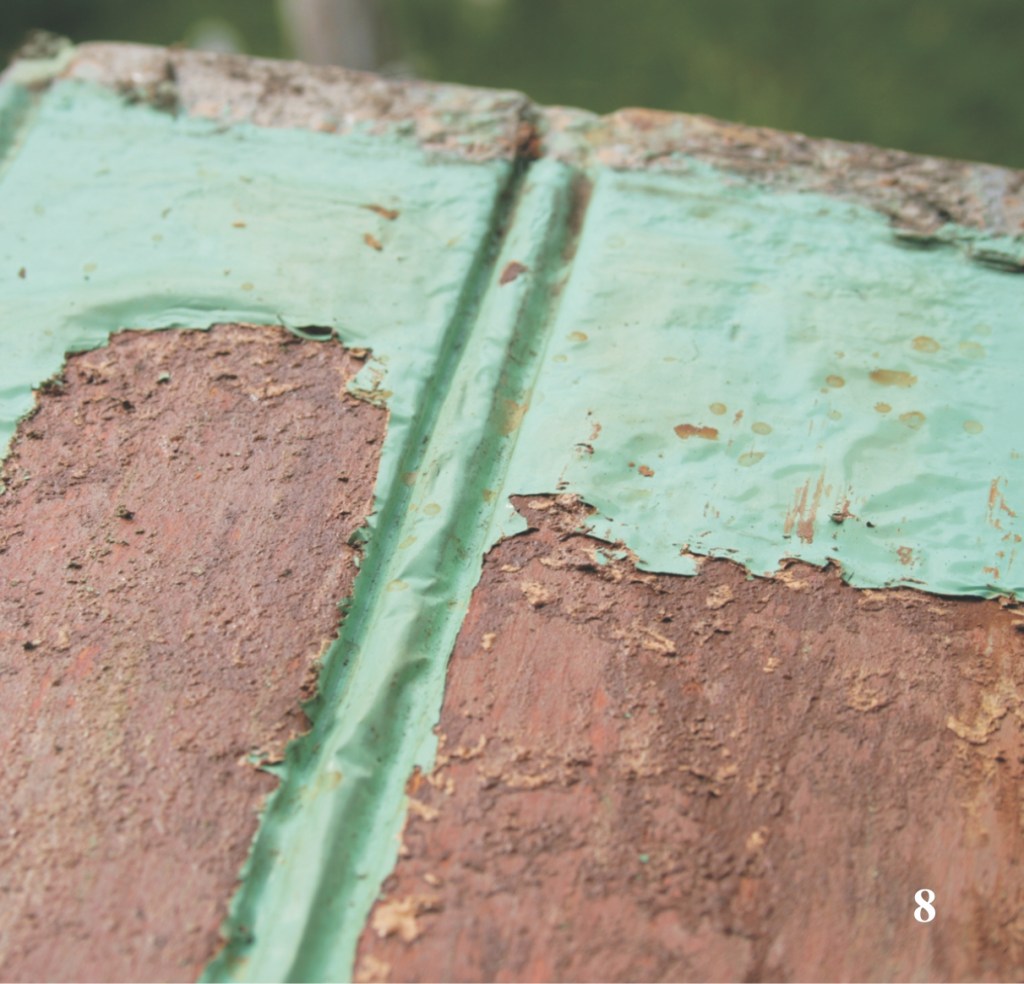
Image 8
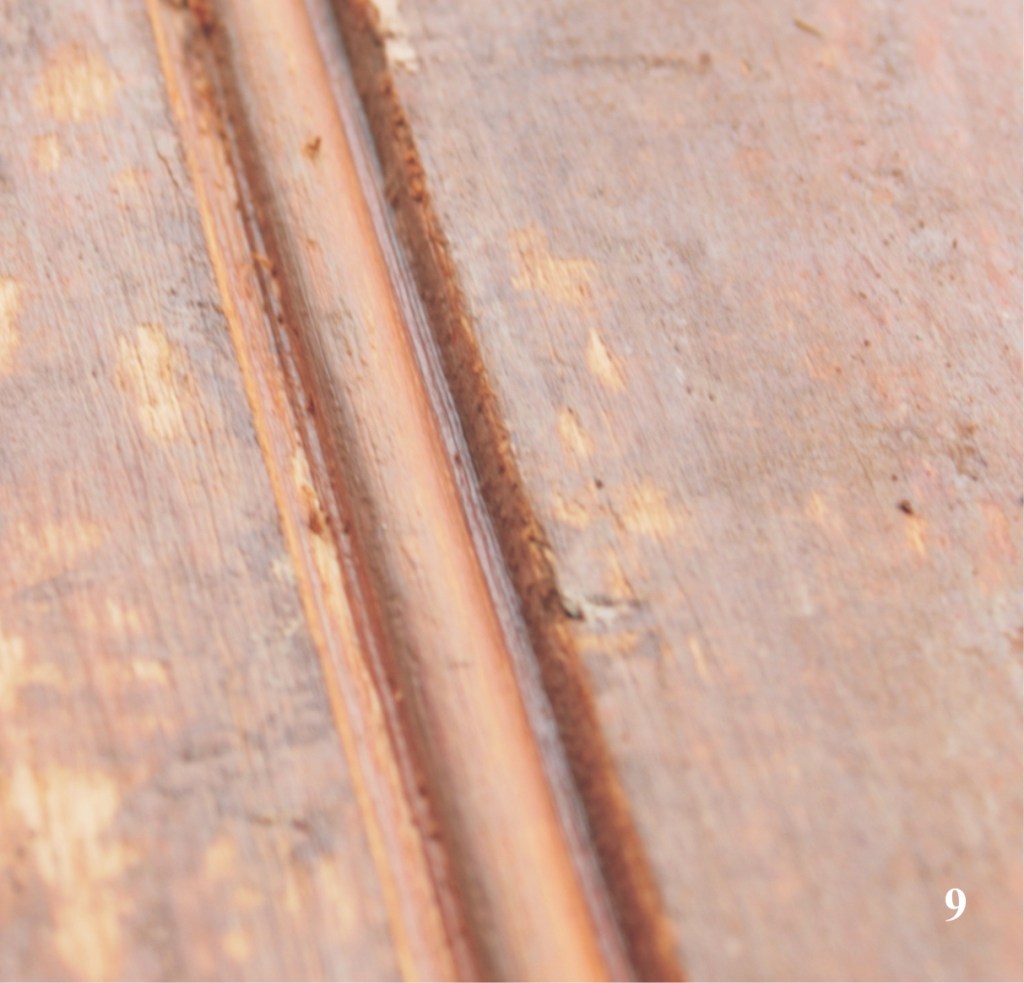
Image 9
Using a little steel wool, I run the bead for any paint that might be left behind. Each piece of panelling was given a coat of oil-based primer and allowed to dry (see Image 10). As mentioned earlier, I decided to apply a more robust nailer, in this case a piece of 2 inch wide pine by ¾ of an inch thick. I attached the wood nailer to the brick work by driving a masonry nail through the wood and into the header mortar joint (see Image 11). The original panelling only had a nailer at the top, with nothing to support the lower portions so I installed another nailer in the same manner as note above.
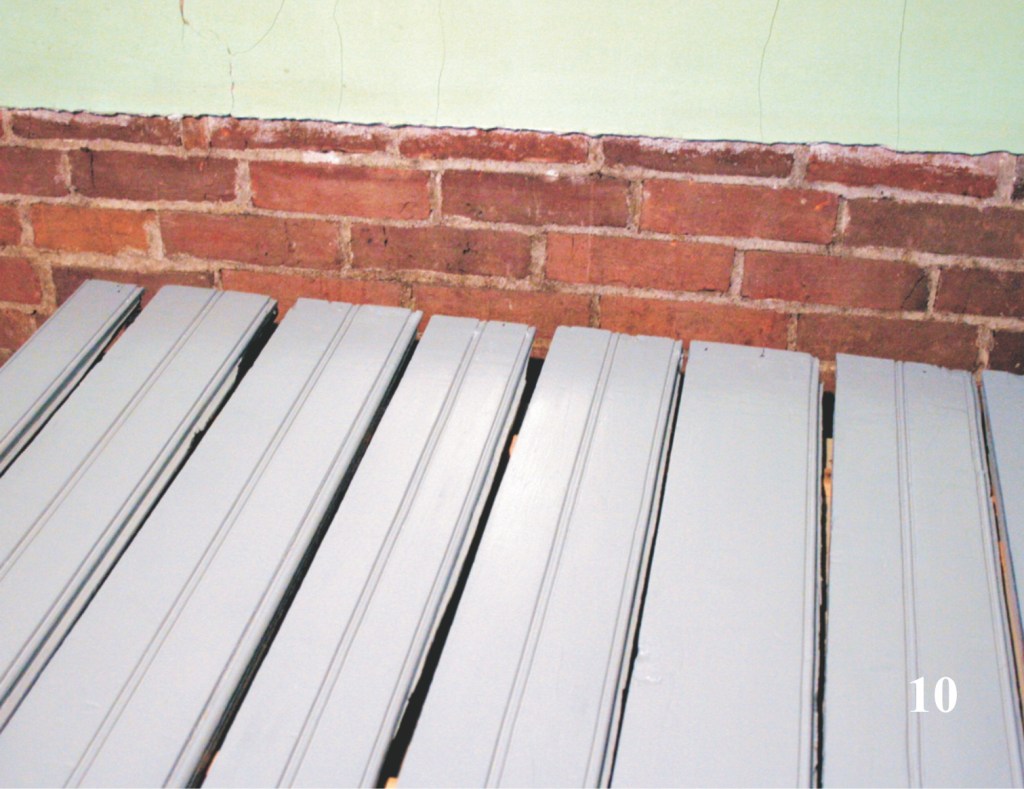
Image 10
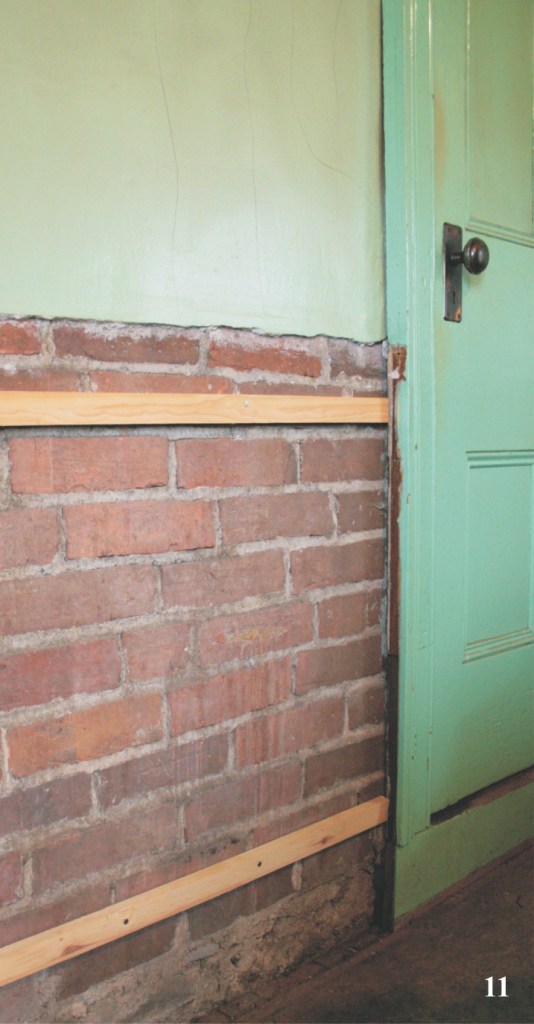
Image 11
Now with my refinished and primed panelling, I simply nail each of the numbered pieces to the nailers, starting at “I”, blind nailing through the tongue with inch and a half spiral finishing nails (see Image 12).
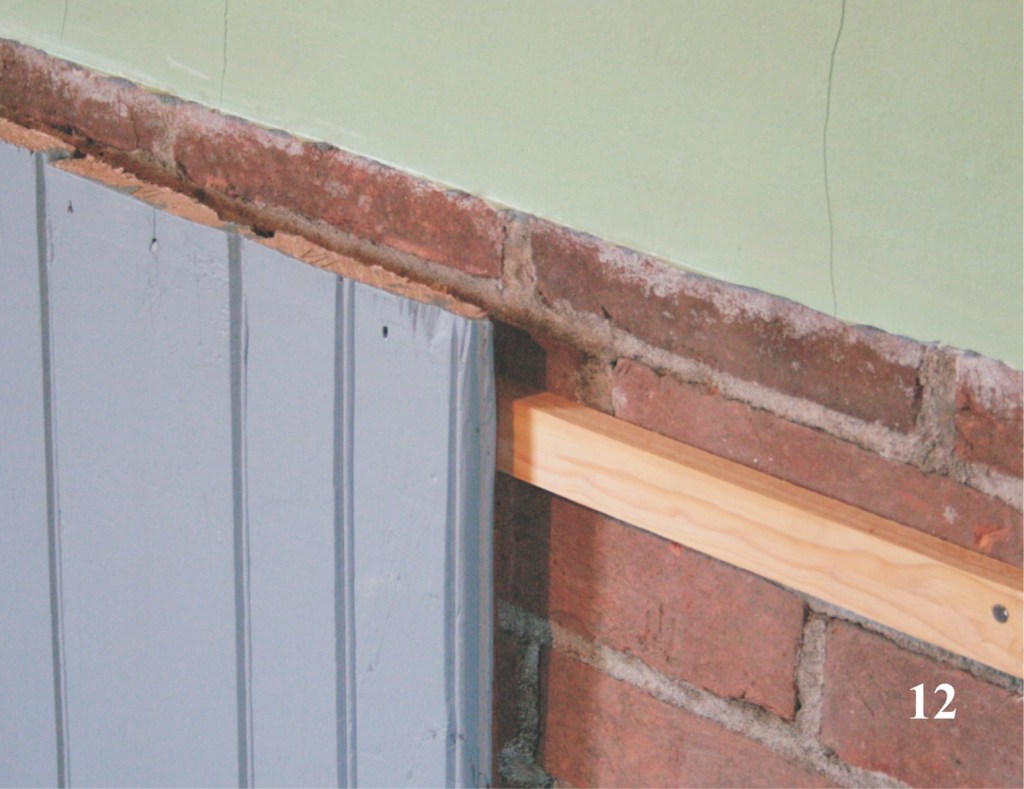
Image 12
One of the most important finishing techniques is to caulk each vertical joint with paintable caulking and run a finger over it to smooth it out (see Image 13).
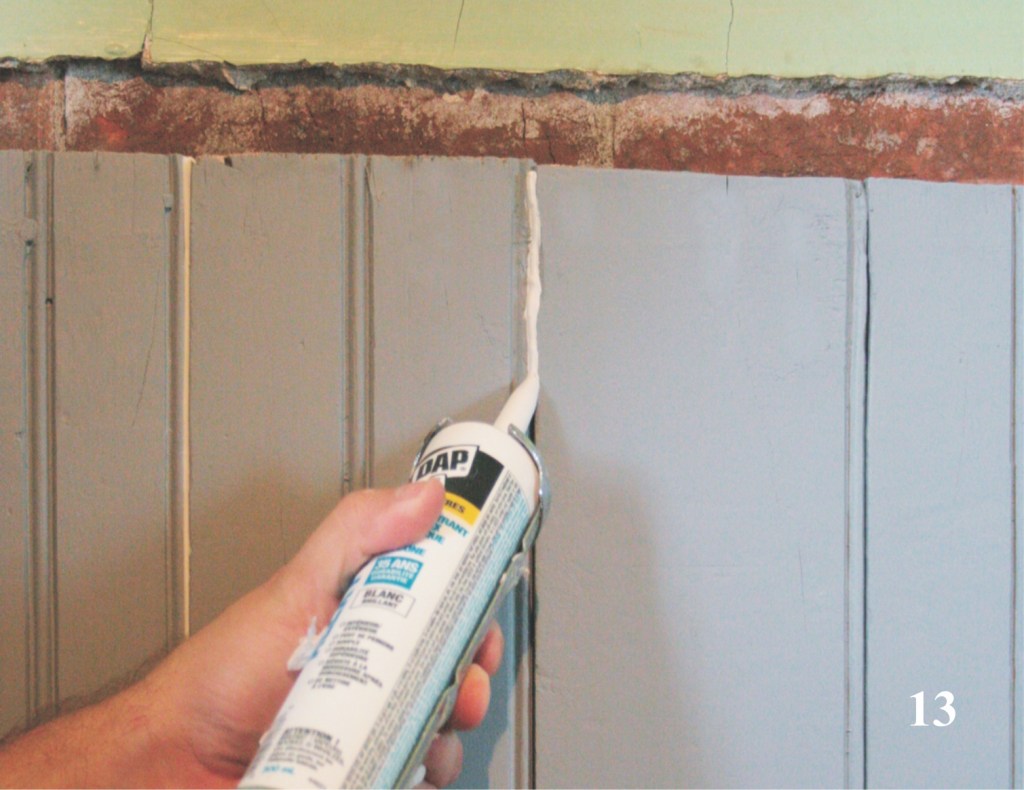
Image 13
The dado rail will now be too short (in width) because of the addition of the more robust nailer. This was easily remedied with another piece of wood ¾” thick, nailed at the same height as the dado rail (see Image 14). Once caulked and painted the seam will disappear.
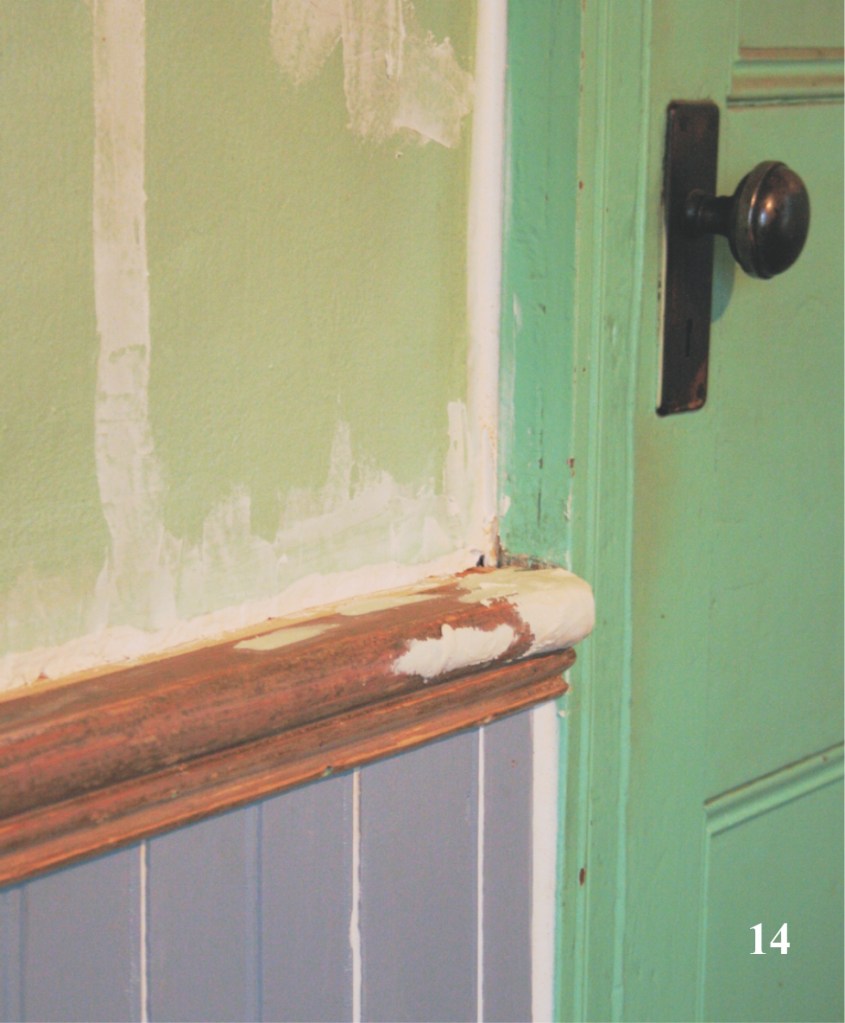
Image 14
Some remedial work was done on the suction plaster wall to get it ready for paint and the connection of plaster to dado rail was repaired using a lime and Plaster of Paris mix of three parts lime to 1 part Plaster of Paris. After the plaster was cured, a bead of paintable caulking was used to finish the joint of plaster and wooden dado rail to ensure against expansion and contraction cracks that may appear (see Image 15).
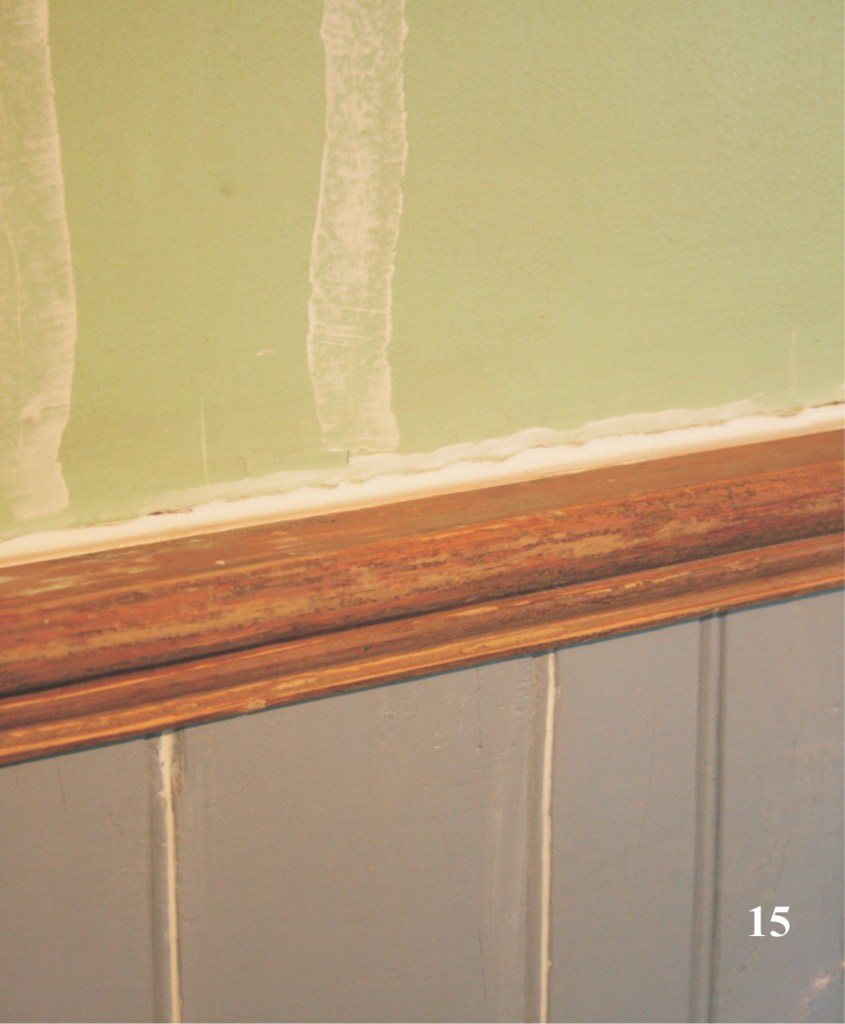
Image 15
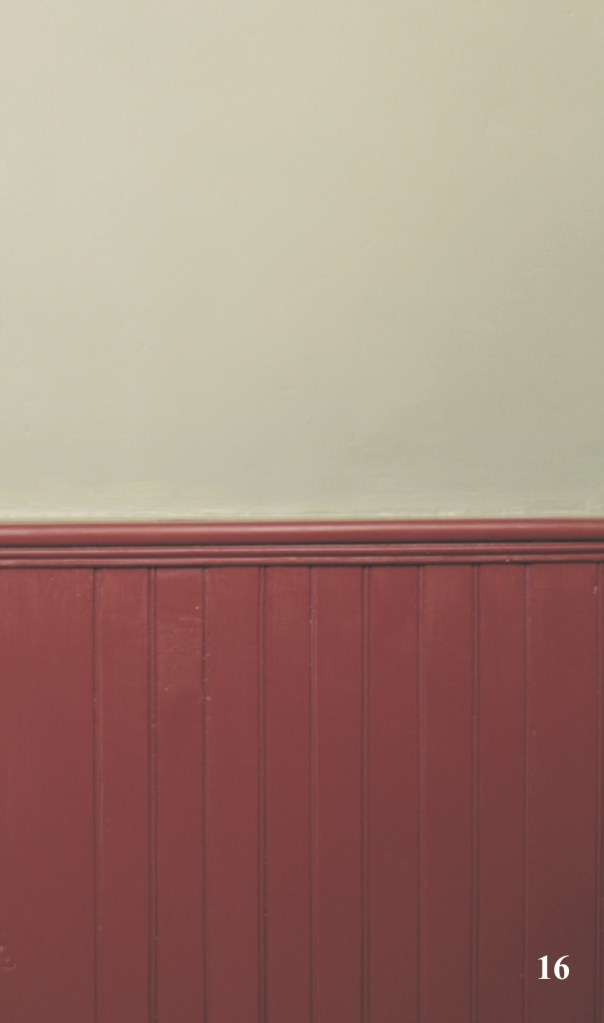
Image 16
The wooden dado and dado rail were given two coats of oil paint in a rich Cranberry. The walls were lightly sanded to take off the sheen of the existing oil paint and given two coats of Acadia Pear. The results are impressive (see Image 16)!
Side bar:
From “A Concise Dictionary of Architectural Terms” 1846 – 1910
Dado, the solid block or cube forming the body of a pedestal in Classical architecture, between the base-mouldings and cornice: an architectural arrangement of mouldings, around the lower part of the walls of a room, resembling a continuous pedestal.
Wainscot, this term originally seems to have implied rough planks of oak timber, and subsequently to have been given to wooden panelling, to which they were converted, for lining the inner walls, floor to ceiling of houses and churches. It was very extensively employed during the reigns of Queen Elizabeth and James I., and for a long period afterwards. It is also called Seeling-work.
Therefore, what is referred to today as a wainscot or wainscoting should be a wooden or cased-dado.

This was a very informative piece!
Thank you David
Wonderful to see this work. My grandmother was close friends with Stan, and when we went out to pick tomatoes from his garden, we would finish off by eating yogurt cups in that room. So delighted to see what you have done in reviving, and respecting, that home. Stan had a few lambs in the house with him in the ’90s. What a place! Thank you for this.
Thank you for writing such an in depth and informative piece. As always you include a lot of very useful information without sacrificing a reader’s interest.