Editorial & Photography By: Dr. Christopher Cooper
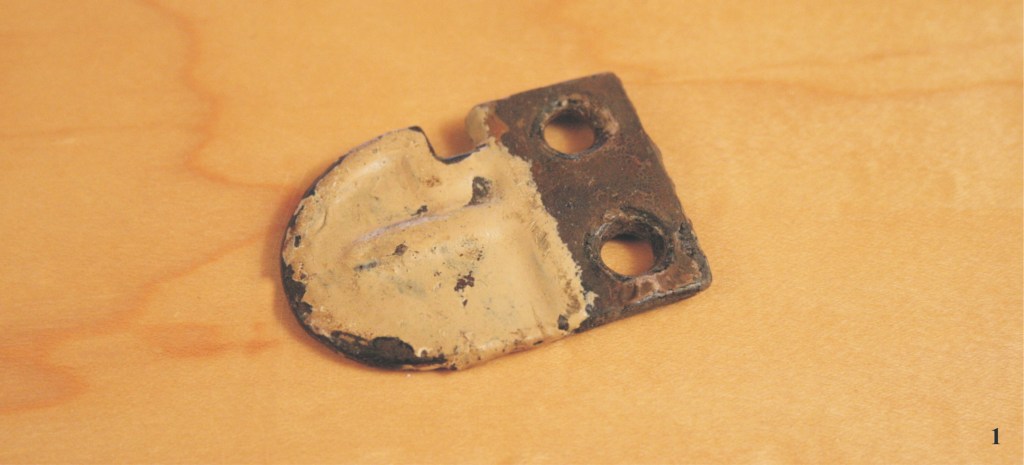
Image 1
I am sure our readership is aware of my passion for antique hardware, to wit, I have become a collector of early Suffolk and Norfolk latches, with a few interesting Tudor and Elizabethan era pieces. The problem with these latches is that they seldom come with their keepers, which is a small device needed to keep the door latched (see Image 1). Usually when a house is dismantled or razed, the keeper is left behind attached to the door frame or architrave. Doors are usually the prizes during a demolition and not much thought is given to the trim, frames or architraves that make up the entire package of a door, which in-turn is where the keeper is left to its ultimate demise!
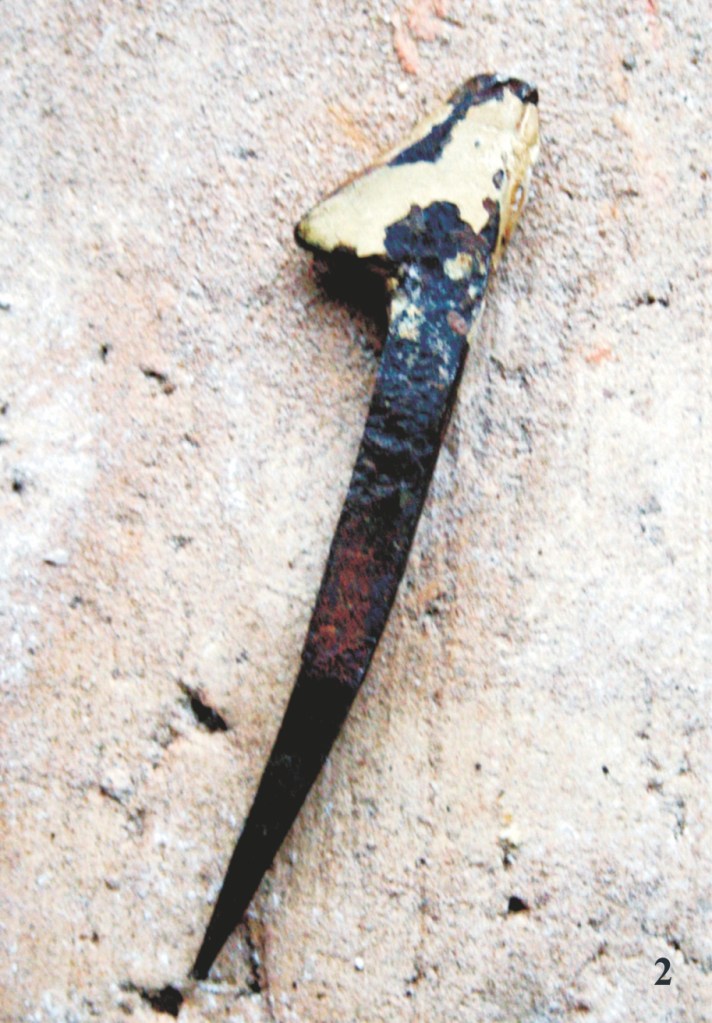
Image 2
Many times I have a project where I have the need for a keeper and usually come up short. In this article I will provide instruction on the fabrication of a basic keeper for a mid 19th century cast latch which could also be used for an earlier Norfolk latch. In a future article I will instruct on the making of a rudimentary keeper which is for use with early hand forged Suffolk latches from the 18th and early 19th centuries (see Image 2).
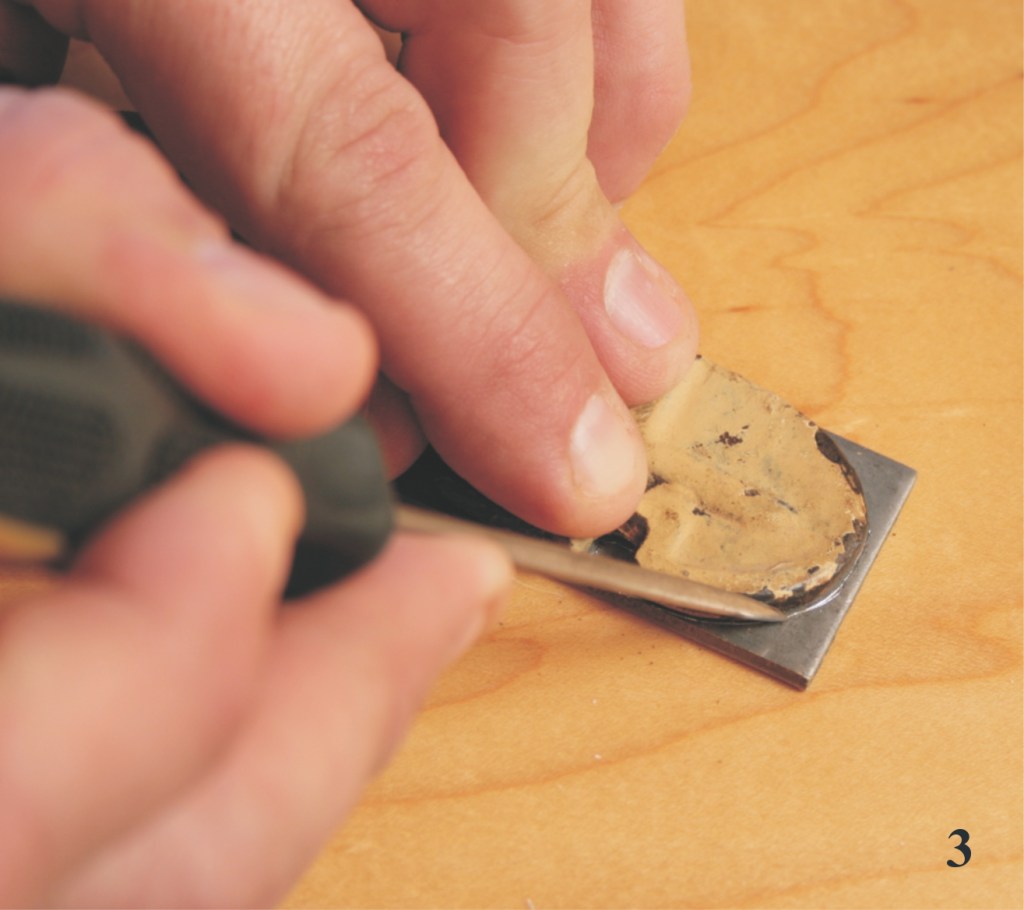
Image 3
I purchased a three-foot length of mild steel an eighth of an inch thick, with a width of one-and-a-half inches. From a keeper I already have, I know this to be the exact size in width and thickness of a standard mid 19th century keeper. The tool list needed is short: a grinder, several files, and a drill press. I first lay out the keeper on the length of mild steel using the original as a template (see Image 3). By clamping the piece of steel onto the work bench, I use the grinder to rough-out the basic shape and notch of the keeper (see Image 4). Using a small sharp file, I will shape and refine the profiles and notch (see Image 5).
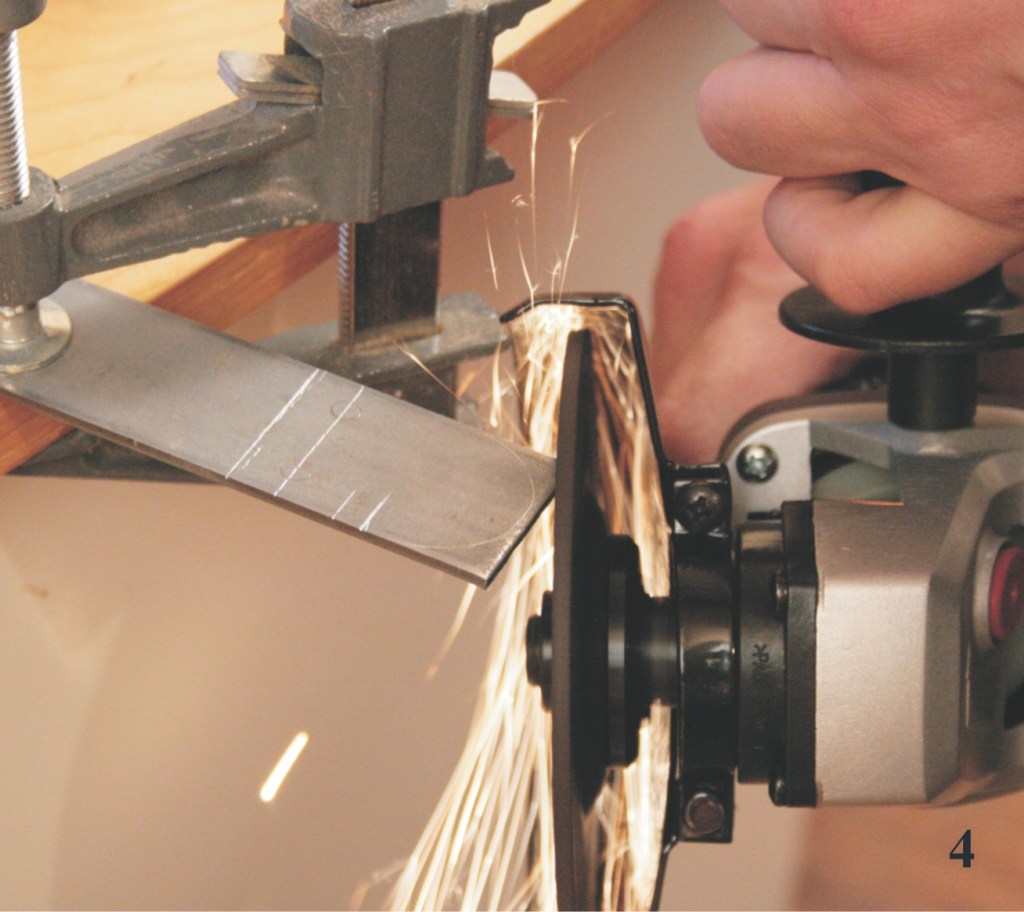
Image 4
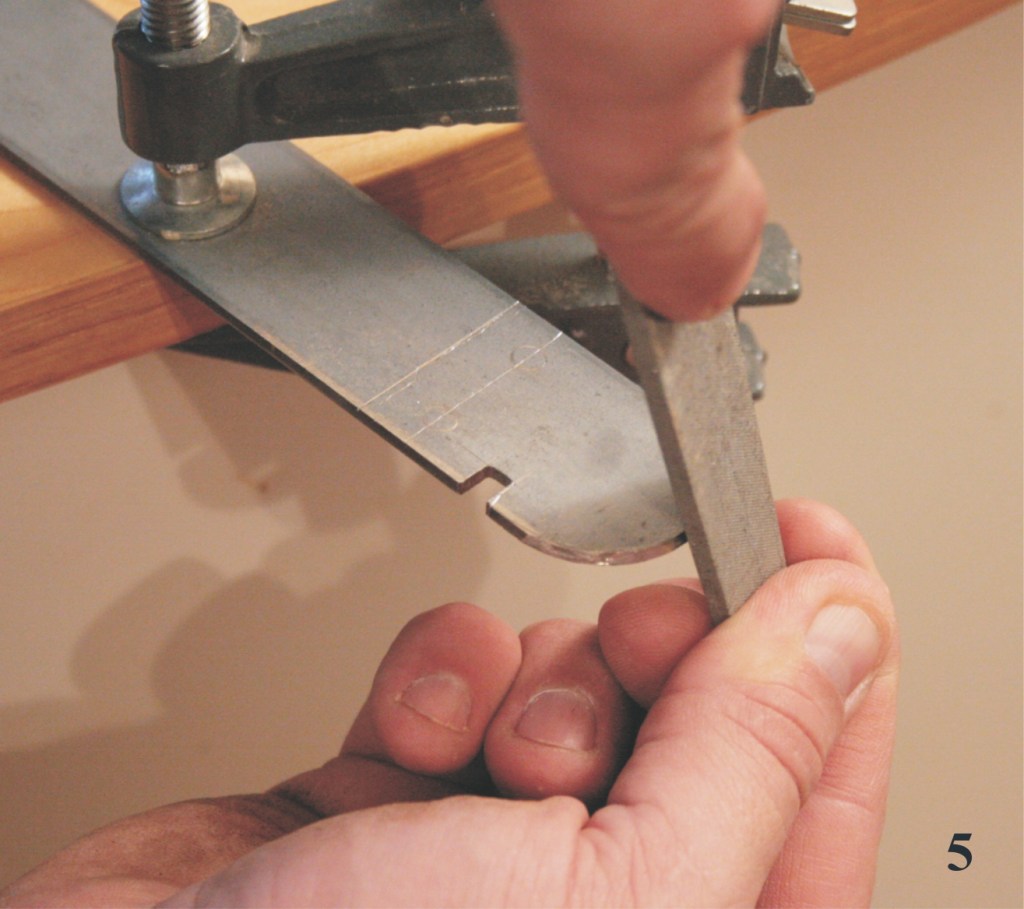
Image 5
Before I cut the keeper to its final length, I will take the blank over to the drill press and drill a series of holes necessary to attach the keeper to the frame of the door. With a 3/16″ drill bit and some machine oil, I run two holes through the blank stock (see Image 6). With a larger drill bit, I will counter sink both sides of the screw holes for a right or left installation (see Image 7). Once the holes are run, I can cut the keeper to length, using the grinder or a hack saw. The keeper can now be tightly secured in a vice and the back edge refined and shaped with the file.
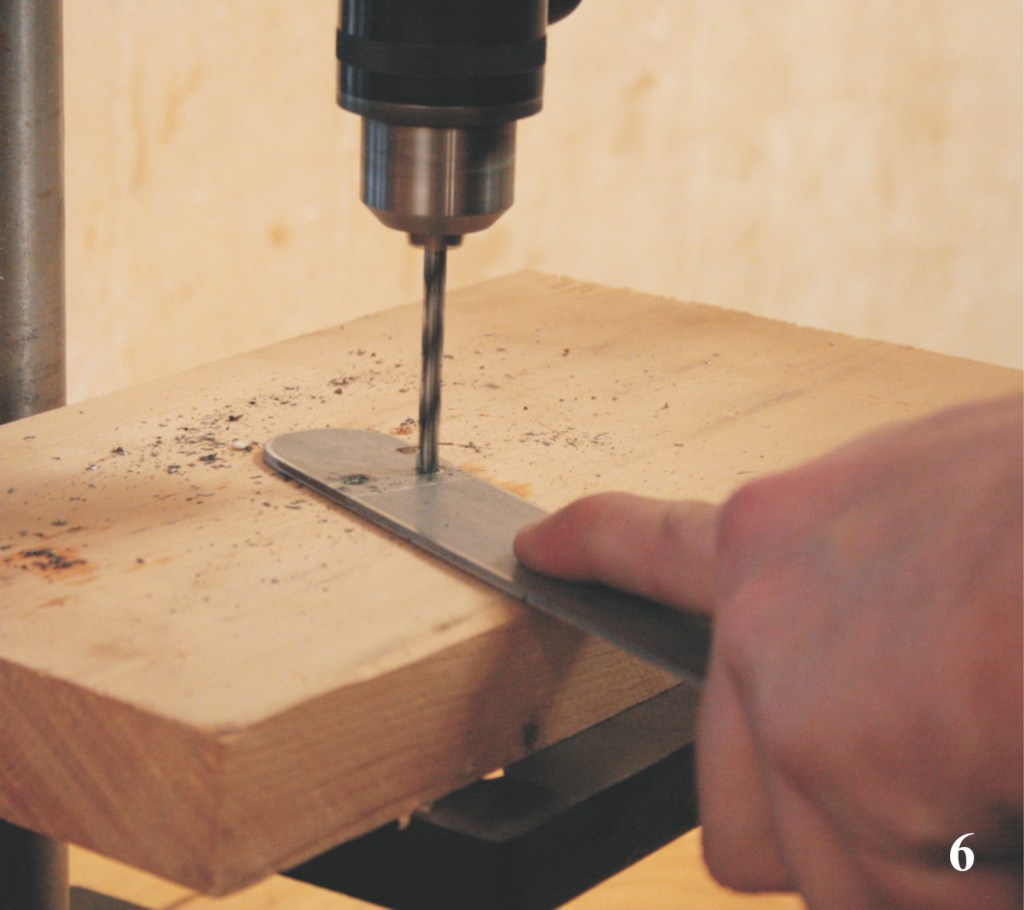
Image 6
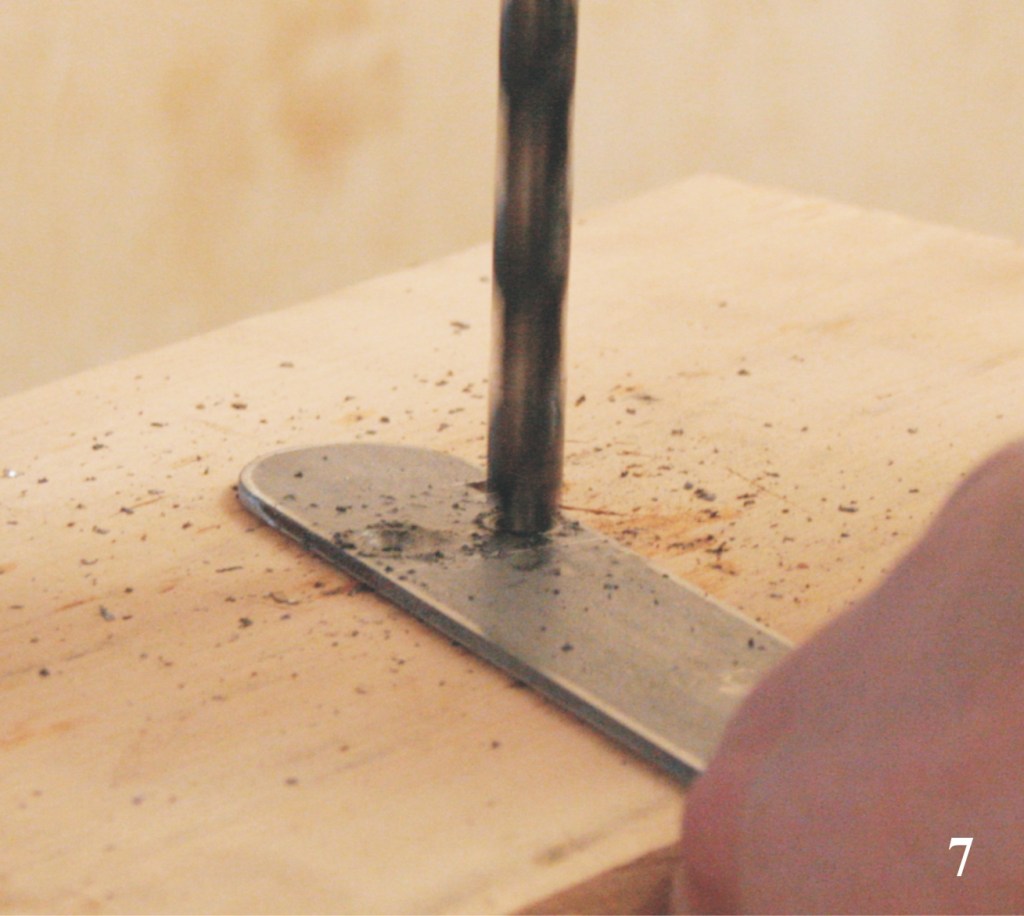
Image 7
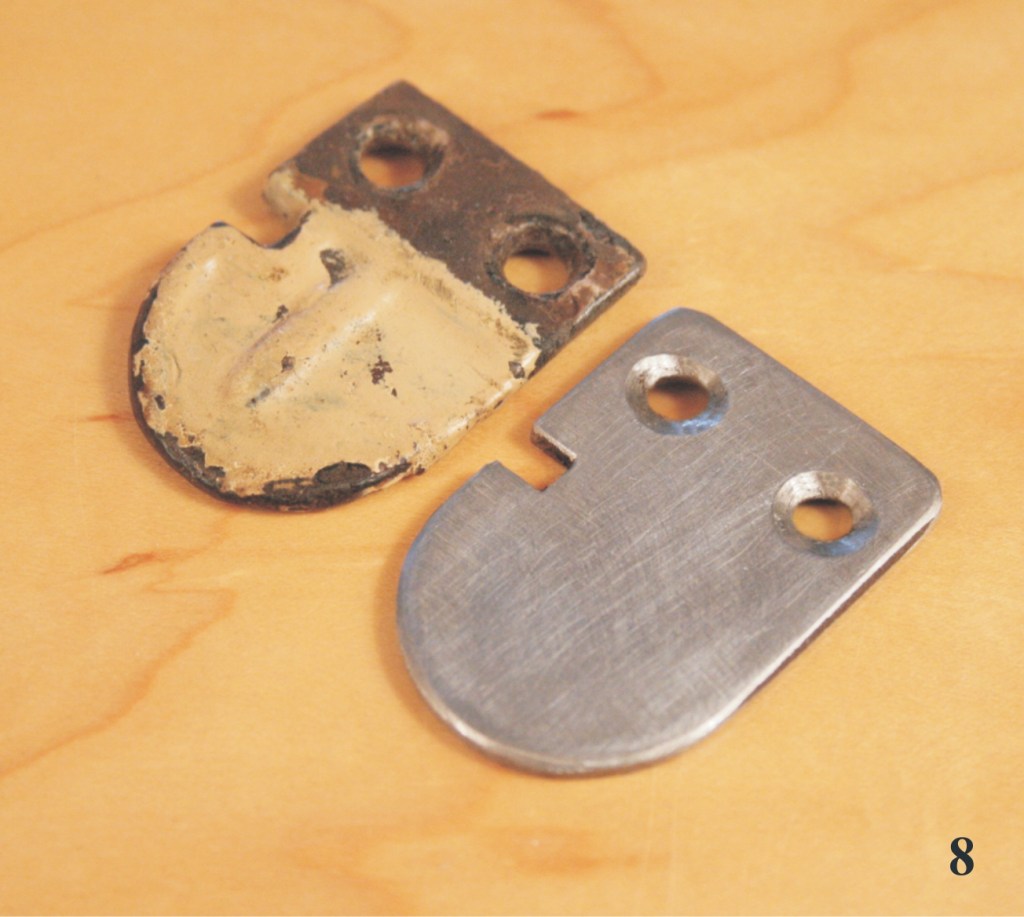
Image 8
The finished keeper can simply be waxed with beeswax periodically to stop any corrosion. The best part of this little exercise is that 23 keepers can be cut from the piece of mild steel which cost under $7.00 (see Image 8).
